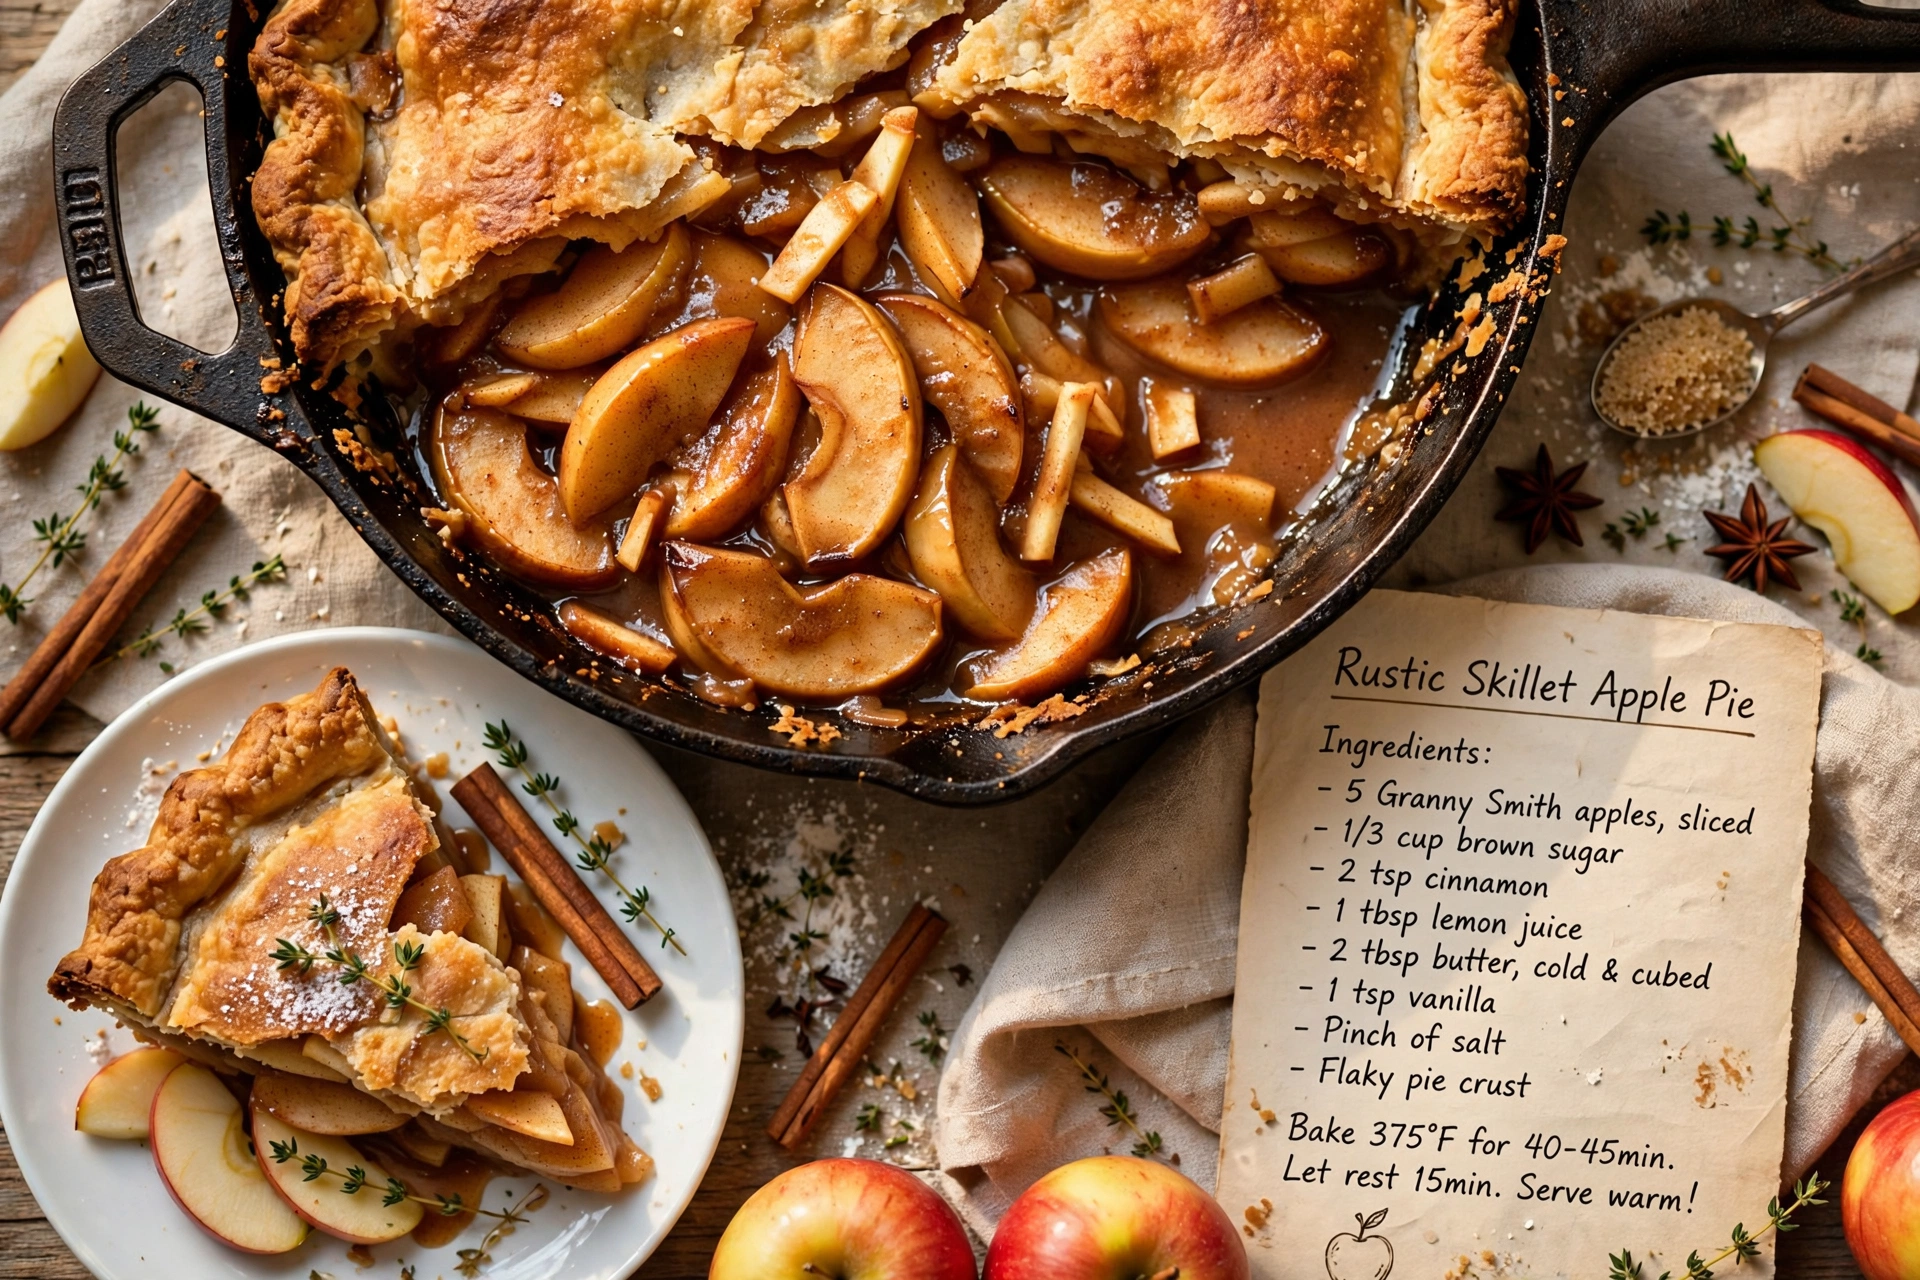
Rustic Skillet Apple Pie
This rustic skillet apple pie bakes up bubbling and golden in a cast iron pan, with a buttery, flaky crust and warmly spiced apples in every bite.

Why This Skillet Apple Pie Belongs in Your Kitchen
There is something about baking a pie in a cast iron skillet that turns a good dessert into an unforgettable one. The heavy pan conducts heat evenly, so the bottom crust turns deeply golden and shatteringly crisp instead of soggy, while the sides get that beautiful caramelized edge you just cannot get from a glass pie dish. This rustic skillet apple pie leans into that charm completely. It is not fussy or perfectly fluted. It is the kind of pie you set in the middle of the table, still in the skillet, and let everyone dig in.
If you have ever loved a Pioneer Woman style skillet apple pie or seen stove top apple pie recipes floating around and wanted your own version, this is it. Warmly spiced apples, a buttery from scratch crust, and just enough rustic imperfection to make it feel like a homemade classic.
Before we get cooking, the right tools and ingredients make a real difference here. A well seasoned cast iron skillet is the heart of this recipe, since it holds and radiates heat so evenly that your crust bakes through without burning. A sturdy pastry cutter also makes quick work of cutting cold butter into the flour, which is the real secret to a flaky crust.
The Secret to Rustic Pie Recipes: Cold Butter and a Light Hand
The difference between a tough crust and a tender, flaky one almost always comes down to temperature and touch. Keep your butter cold, straight from the fridge, and work quickly so it does not soften too much before it hits the oven. You want small, visible flecks of butter throughout the dough. Those little pockets melt during baking and create steam, which is exactly what gives you those flaky layers.
Chef's Tip: If your kitchen is warm, pop the mixing bowl and butter in the freezer for 10 minutes before you start. Cold ingredients and a cold bowl make a world of difference in humid weather.
This recipe also skips the need for a perfectly crimped, bakery style edge. Rustic pie recipes like this one are meant to look a little wild. A few cracks in the crust or an uneven lattice only add to the homemade charm.
Choosing and Prepping Your Apples
The best apple pie skillet recipes use a mix of apple varieties for the most complex flavor and texture. Tart, firm apples like Granny Smith hold their shape during baking, while a sweeter variety like Honeycrisp or Braeburn breaks down just slightly to create that classic juicy, tender filling. Slicing the apples to a consistent thickness, about a quarter inch, helps them cook evenly so you avoid the dreaded gap between a puffed up top crust and shrunken apples underneath.
Tossing the apples with a bit of lemon juice does double duty. It brightens the sweetness of the filling and helps prevent the slices from browning while you finish rolling out your dough.
Ready to make it? Here is the full step by step recipe:
Rustic Skillet Apple Pie
This rustic skillet apple pie bakes up bubbling and golden in a cast iron pan, with a buttery, flaky crust and warmly spiced apples in every bite.
Ingredients
- 2 1/2 cups all-purpose flour, plus extra for rolling
- 1 tbsp granulated sugar, for the crust
- 1 tsp salt, divided
- 1 cup unsalted butter, cold, cubed, plus 2 tbsp for filling
- 1/2 cup ice water, more as needed
- 7 apples, peeled, cored, and sliced; a mix of Granny Smith and Honeycrisp
- 1/2 cup brown sugar, packed
- 1/4 cup granulated sugar, for the filling
- 2 tsp apple pie spice, or homemade blend of cinnamon, nutmeg, and allspice
- 2 tbsp cornstarch, to thicken the juices
- 1 tbsp lemon juice, freshly squeezed
- 1 egg, beaten, for egg wash
- 1 tbsp coarse sugar, for topping, optional
Instruction
Make the dough: In a large bowl, whisk together the flour, sugar, and half the salt. Cut in the cold butter with a pastry cutter or your fingers until the mixture resembles coarse crumbs with some pea-sized pieces remaining.
Drizzle in the ice water, 1 tablespoon at a time, mixing gently until the dough just comes together. Divide in half, flatten into two discs, wrap in plastic, and chill for at least 1 hour.
Preheat the oven to 400 degrees F (200 degrees C).
Make the filling: In a large bowl, toss the sliced apples with brown sugar, granulated sugar, apple pie spice, cornstarch, remaining salt, and lemon juice until evenly coated.
Roll out one disc of dough on a floured surface into a circle large enough to line a 10 inch cast iron skillet, with a little overhang. Press it into the skillet, letting the edges drape over the sides.
Pour the apple filling into the skillet, mounding it slightly in the center, and dot with the remaining 2 tablespoons of butter.
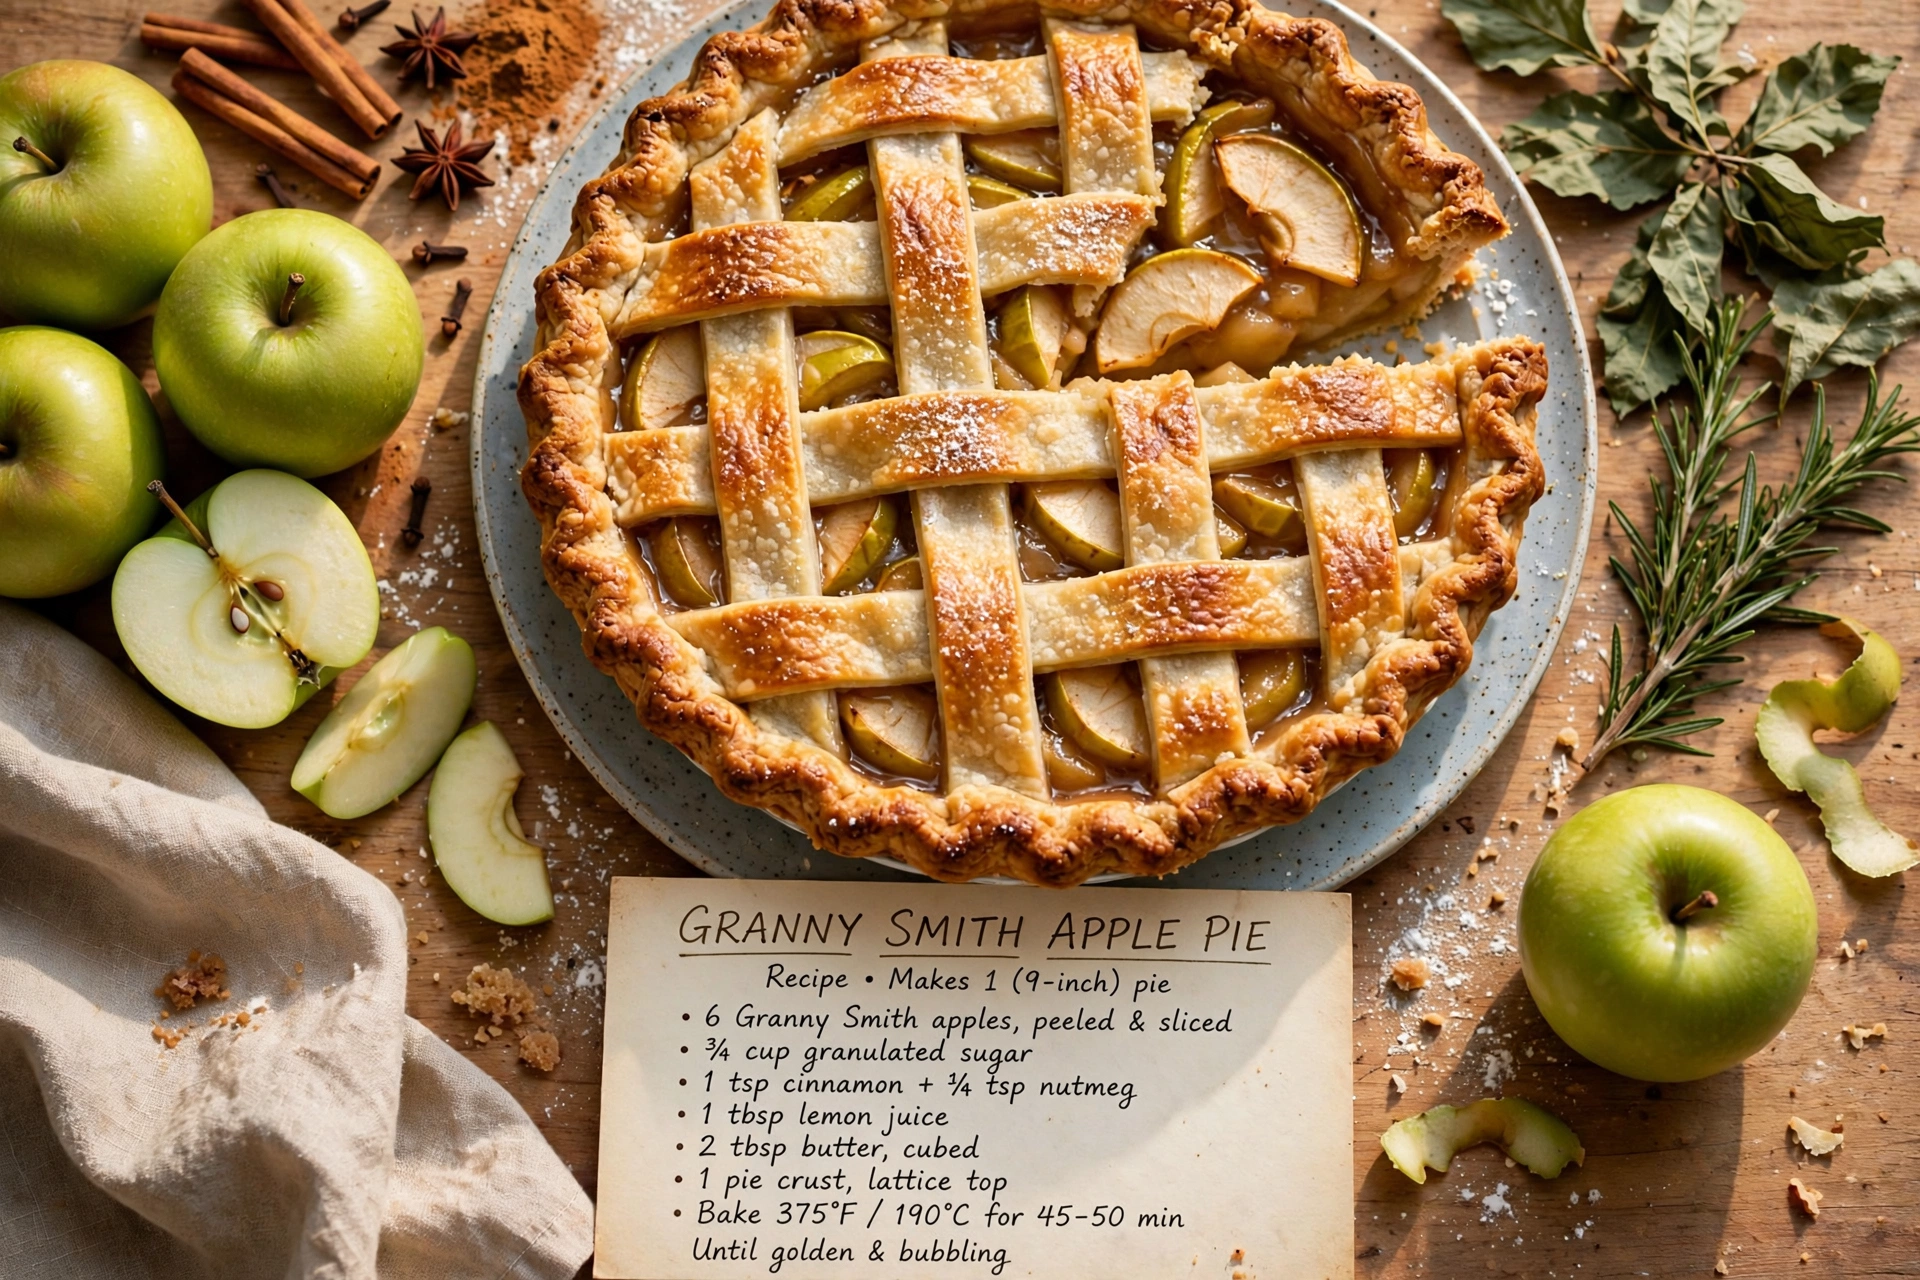
Roll out the second disc of dough and either lay it whole over the filling with a few vents cut in, or slice it into strips for a lattice top. Trim and crimp the edges to seal.
Brush the top crust generously with the beaten egg and sprinkle with coarse sugar.
Place the skillet on a baking sheet to catch drips, and bake for 45 to 55 minutes, until the crust is deep golden brown and the filling is bubbling through the vents.
Let the pie cool in the skillet for at least 20 minutes before slicing, so the filling has time to set.
Equipment
- 10-inch cast iron skillet
- Pastry cutter
- Rolling pin
- Large mixing bowls
- Baking sheet
- Pastry brush
Notes
Serving, Storing, and Making It Your Own
This pie is glorious served warm, straight from the skillet, with a scoop of vanilla ice cream melting into the crevices of the lattice top. For a cozier fall presentation, dust the crust lightly with cinnamon sugar after baking, or drizzle with a simple caramel sauce just before serving.
A few easy variations to try:
- Add nuts: Toss a handful of chopped pecans or walnuts into the filling for extra crunch.
- Swap the spice: If you love recipes with apple pie spice, feel free to double up for an even cozier, more fragrant filling.
- Go for a crumb top: Skip the lattice and use a buttery streusel topping instead for an even more rustic, cobbler like finish.
As far as cast iron desserts go, this one is about as satisfying as it gets. The skillet goes straight from oven to table, there is minimal cleanup, and the presentation always draws people in. Once you make apple pie this way, it is hard to go back to a regular pie dish.