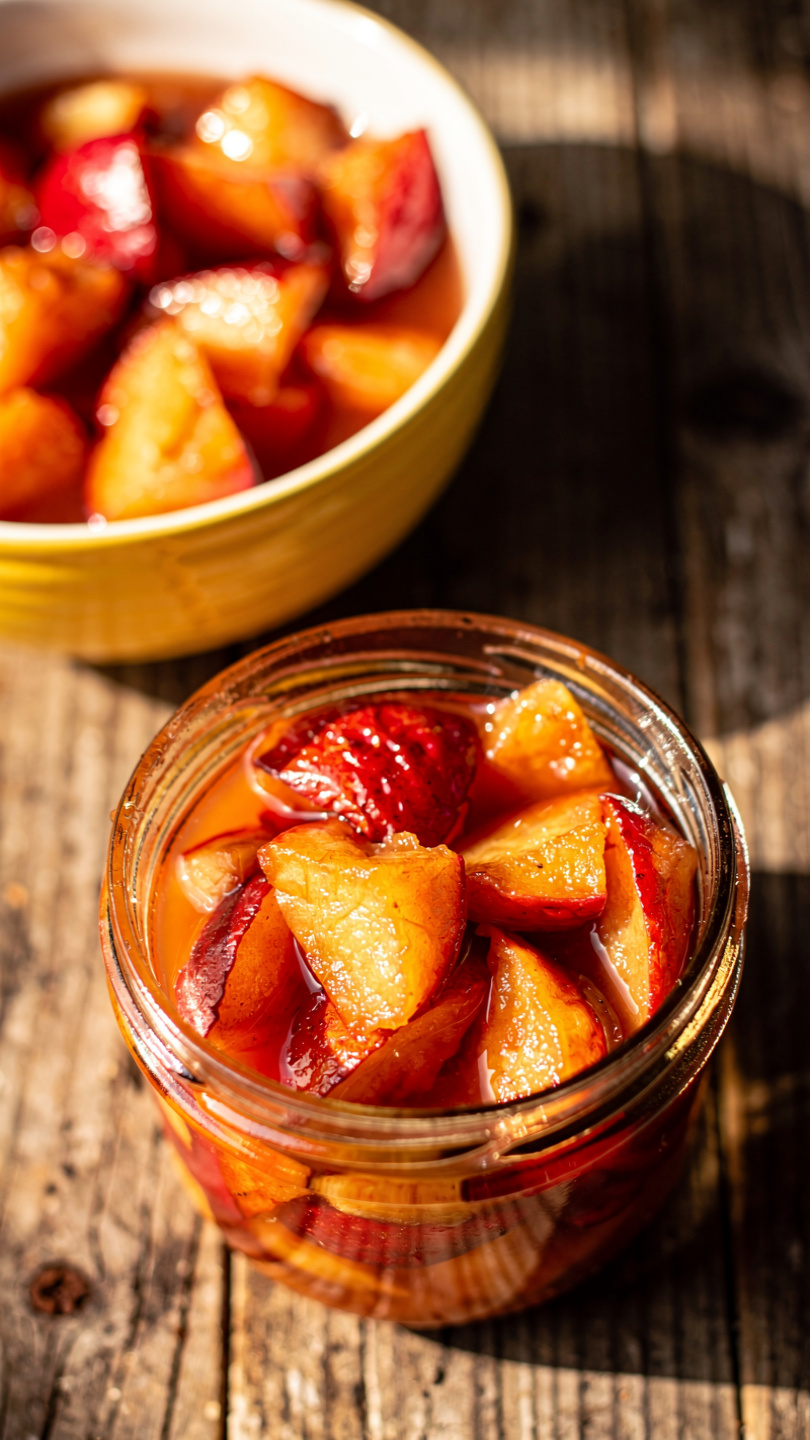
Homemade Apple Pie Filling for Canning
Learn how to make and can apple pie filling at home with this easy, small-batch recipe, perfect for stocking your pantry with ready-to-bake apple pie filling all year long.

Why You Need Apple Pie Filling To Can In Your Pantry
There is something deeply satisfying about opening your own pantry in the middle of winter and pulling out a jar of homemade apple pie filling you canned yourself back in the fall. This recipe walks you through exactly how to can apple pie filling from scratch, using simple ingredients and a straightforward water bath method, so you always have dessert ready to go. Whether you are canning apples for pie filling from a backyard tree or a big bag from the farmers market, this method turns fresh fruit into shelf-stable, ready-to-bake goodness.
This is one of those canning apple pie filling recipes that feels a little old-fashioned in the best way. Once you learn how to make apple pie filling to can, you will never want to buy the canned stuff from the grocery store again.
Before we get cooking, the right tools and ingredients make a real difference here. A wide, heavy-bottomed stockpot keeps the filling from scorching while it thickens, and a proper water bath canner with a rack takes the guesswork out of processing times. A jar lifter and a magnetic lid wand also make the whole process much safer and less messy, especially once those jars are hot.
Choosing The Right Apples
Not all apples behave the same way once they hit a hot pot. For the best texture in your canned filling, look for firm, tart varieties that hold their shape during cooking, such as:
- Granny Smith
- Honeycrisp
- Braeburn
- Golden Delicious
Softer apples like Red Delicious tend to turn mushy once processed, so they are best saved for applesauce instead.
Chef's Tip: Slice your apples into fairly uniform pieces, about half an inch thick. Uneven slices mean some pieces turn to mush while others stay too firm.
Cornstarch Vs ClearJel For Canning Apples
This is probably the most common question when it comes to canning apple pie filling no ClearJel on hand. Cornstarch works beautifully for filling you plan to refrigerate or freeze, and it is what most home bakers already have in the pantry. However, if you are processing jars for long-term shelf storage, ClearJel is the ingredient trusted by extension offices and canning experts, because it holds its thickening power through the high heat of processing without breaking down.
If cornstarch is all you have, that is completely fine for filling you intend to use within a few months from the fridge or freezer. Just know the texture may loosen slightly the longer it sits.
How To Make And Can Apple Pie Filling Step By Step
The process breaks down into a few manageable stages: prepping the apples, cooking the sauce, filling the jars, and processing them in a boiling water bath. It sounds like a lot, but once you get your rhythm going, an afternoon is really all it takes to fill your pantry shelves.
Ready to make it? Here is the full step-by-step recipe:
Homemade Apple Pie Filling for Canning
Learn how to make and can apple pie filling at home with this easy, small-batch recipe, perfect for stocking your pantry with ready-to-bake apple pie filling all year long.
Ingredients
- 6 lb apples, peeled, cored, and sliced, use a firm variety like Granny Smith or Honeycrisp
- 2 1/2 cups granulated sugar
- 3/4 cup cornstarch, use ClearJel instead if canning for long-term shelf storage
- 1 tbsp ground cinnamon
- 1/4 tsp ground nutmeg, optional, for warmth
- 1/2 cup lemon juice, fresh or bottled
- 2 1/2 cups water, divided
- 1/2 tsp salt
Instruction
Wash, peel, core, and slice the apples into 1/2-inch thick pieces. You should have about 6 pounds, roughly 18 to 20 cups, of sliced apples.
Fill a large pot with water and add a splash of lemon juice. Drop the apple slices in as you work to prevent browning, then drain well before use.
In a large stockpot, whisk together the sugar, cornstarch (or ClearJel), cinnamon, nutmeg, and salt. Slowly whisk in the water until no lumps remain.
Place the pot over medium high heat and bring the mixture to a boil, stirring constantly, until it thickens into a glossy sauce, about 3 to 5 minutes.
Stir in the lemon juice, then fold in the drained apple slices. Return the mixture to a gentle boil and cook for 1 minute, stirring so the apples heat through evenly.
Ladle the hot filling into clean, sterilized quart jars, leaving 1 inch of headspace. Run a knife or bubble tool around the inside of each jar to release trapped air.
Wipe the jar rims clean with a damp cloth, center the lids, and screw on the bands until fingertip tight.
Process the jars in a boiling water bath canner for 25 minutes, adjusting for altitude if needed. Remove and let cool undisturbed on a towel for 12 to 24 hours.
Check that all lids have sealed by pressing the center of each lid. Label and store sealed jars in a cool, dark pantry for up to 12 months.
Equipment
- Large stockpot
- Water bath canner
- Canning jars with lids and bands
- Jar lifter
- Ladle
- Bubble tool or thin plastic knife
- Kitchen towels
Notes
Storing, Using, And Troubleshooting Your Filling
Once your jars have cooled and sealed properly, store them in a cool, dark spot like a pantry or basement shelf. Properly sealed jars will keep their best quality for up to 12 months, though they remain safe well beyond that if the seal holds.
When you are ready to bake, simply pour a jar of filling into your favorite pie crust, top it, and bake as usual. You can also spoon it warm over ice cream, swirl it into oatmeal, or layer it into a quick crisp with a buttery oat topping.
Chef's Tip: If a lid did not seal within 24 hours, do not panic. Just move that jar straight to the refrigerator and plan to use it within a week or two.
With a few jars of this apple pie filling to can tucked away, you are always just one pie crust away from a warm, comforting dessert, no matter the season.