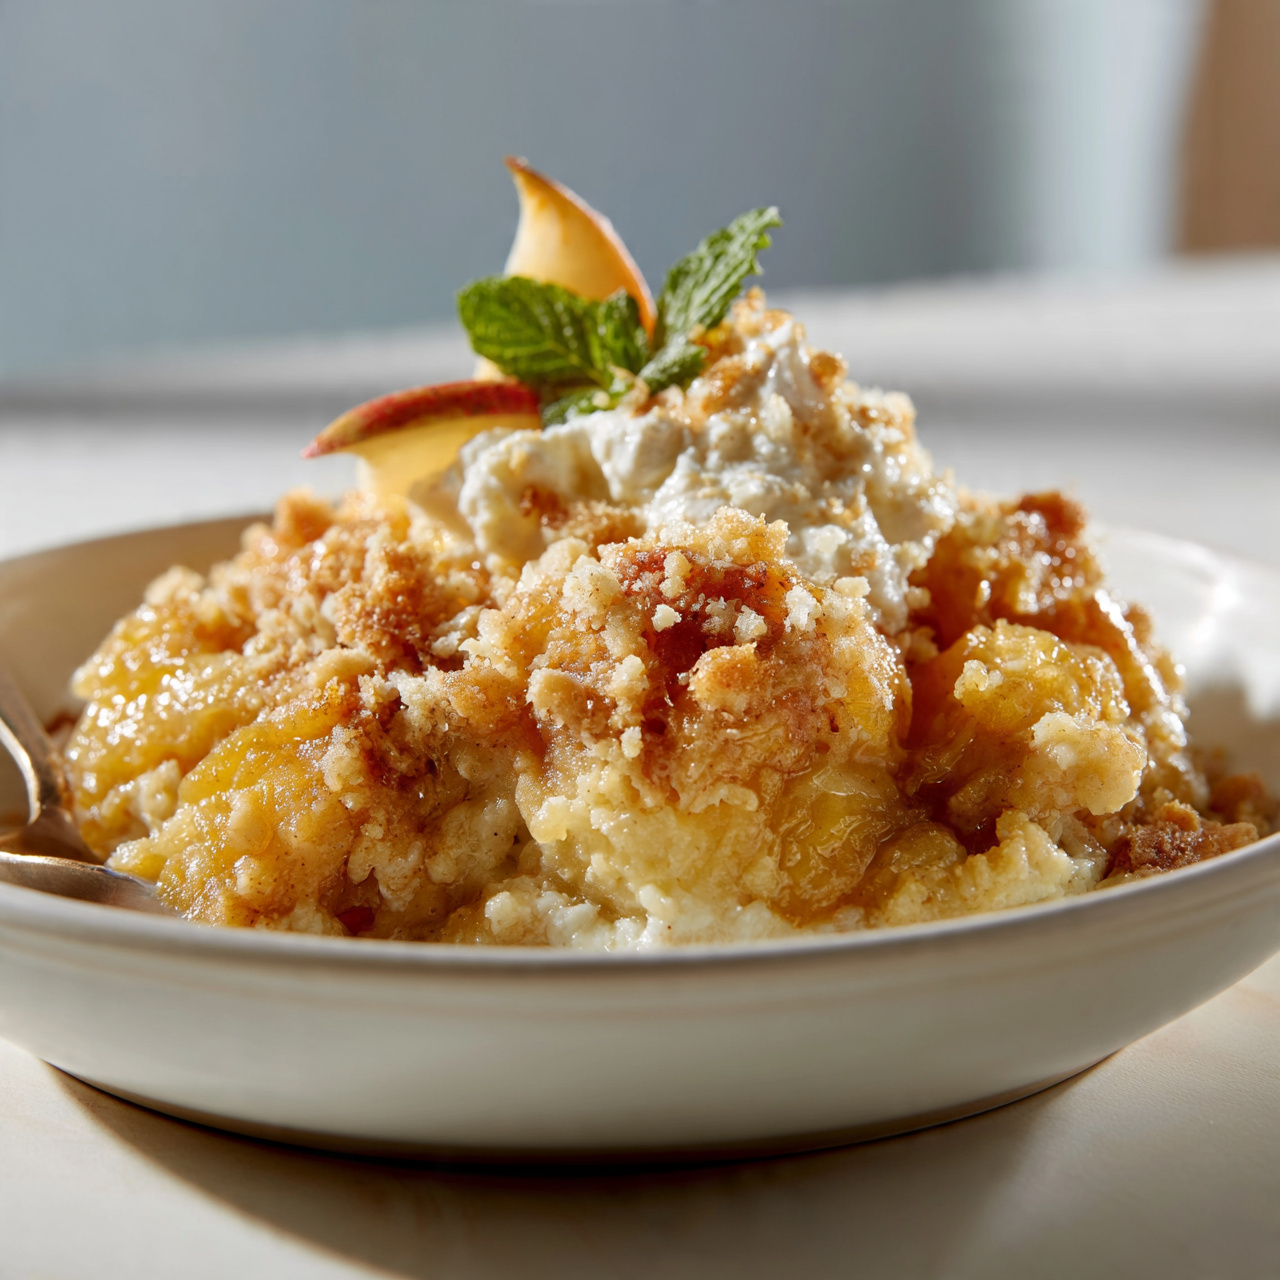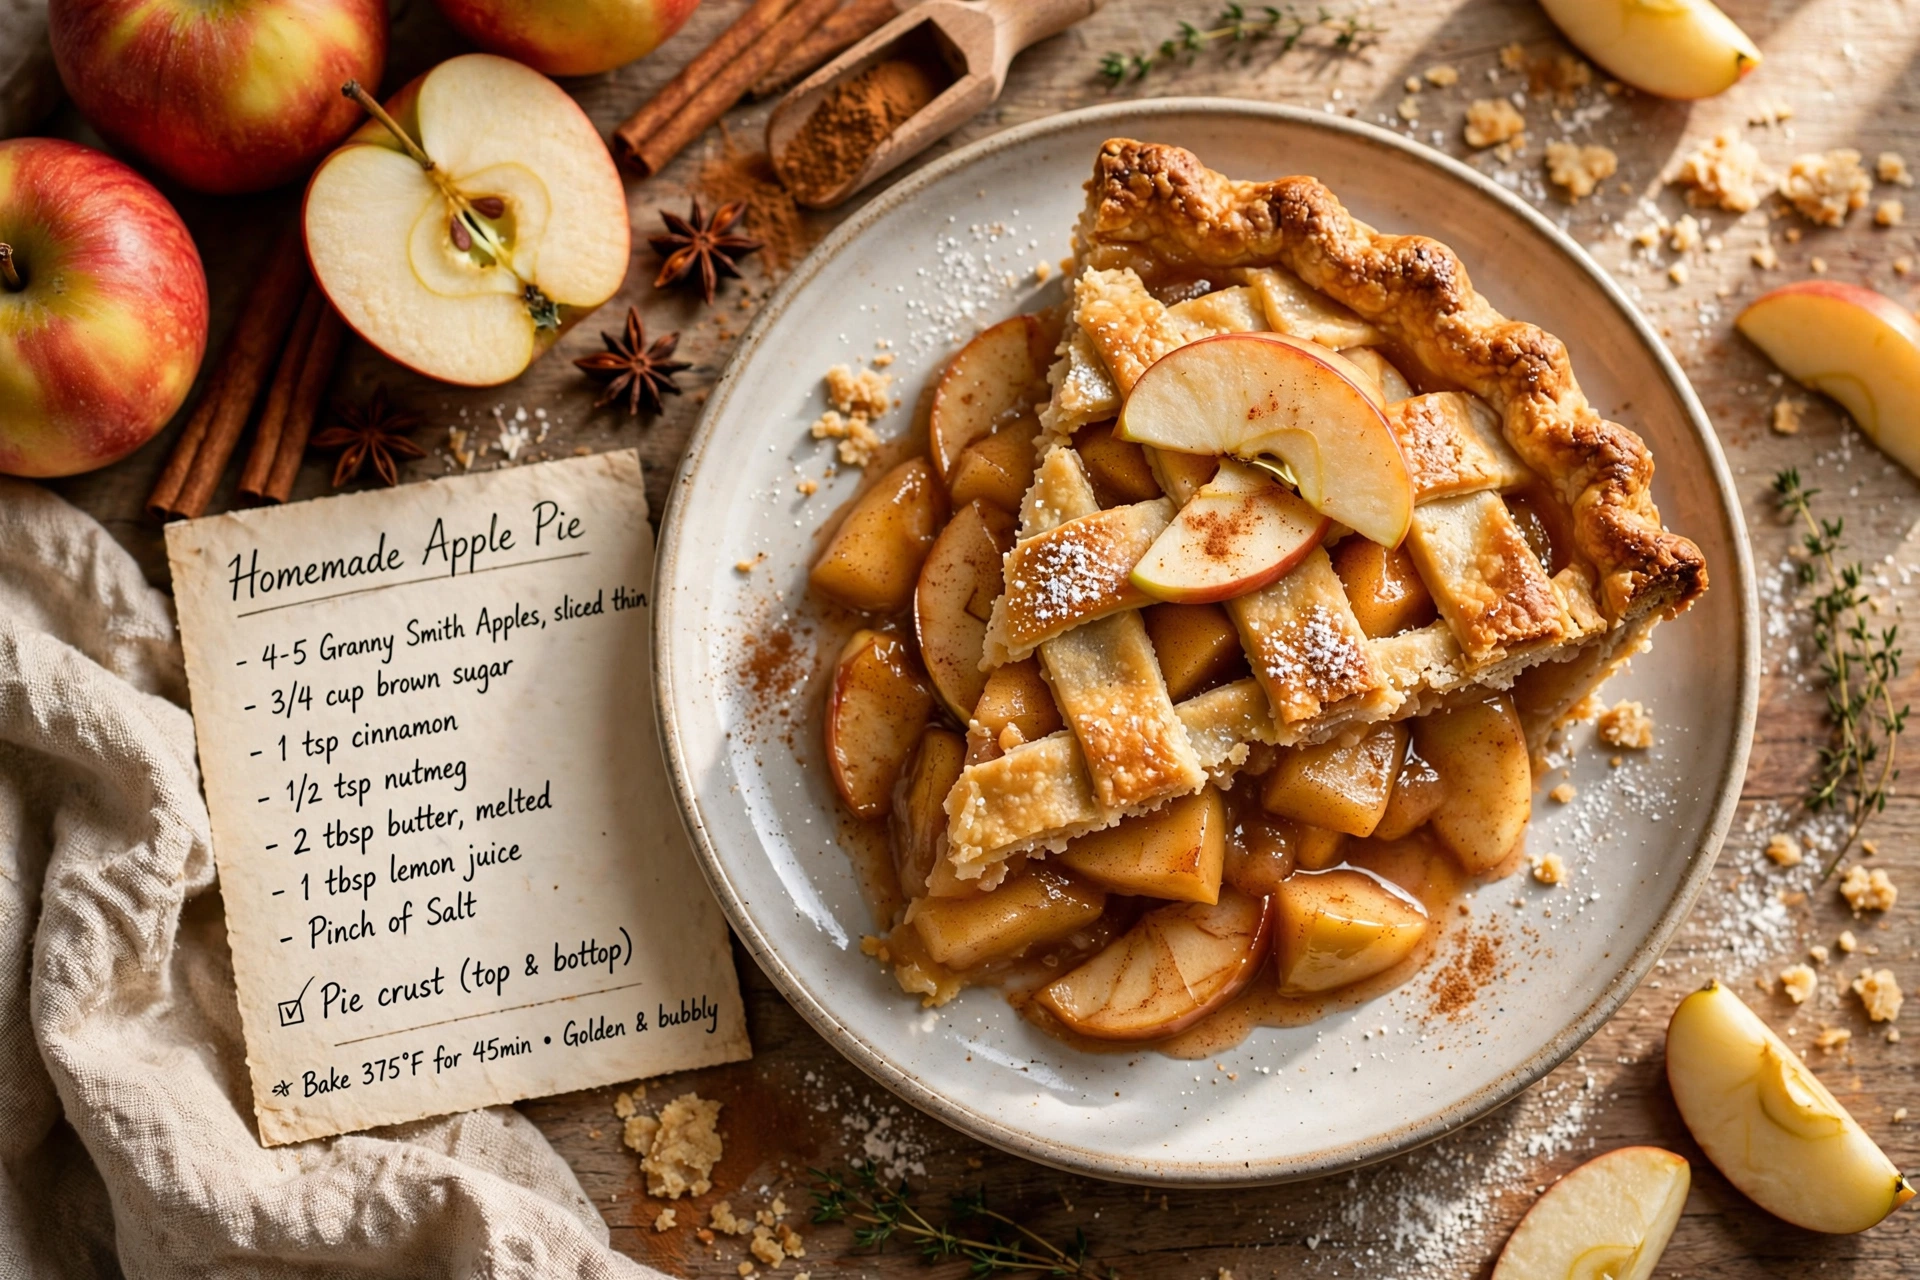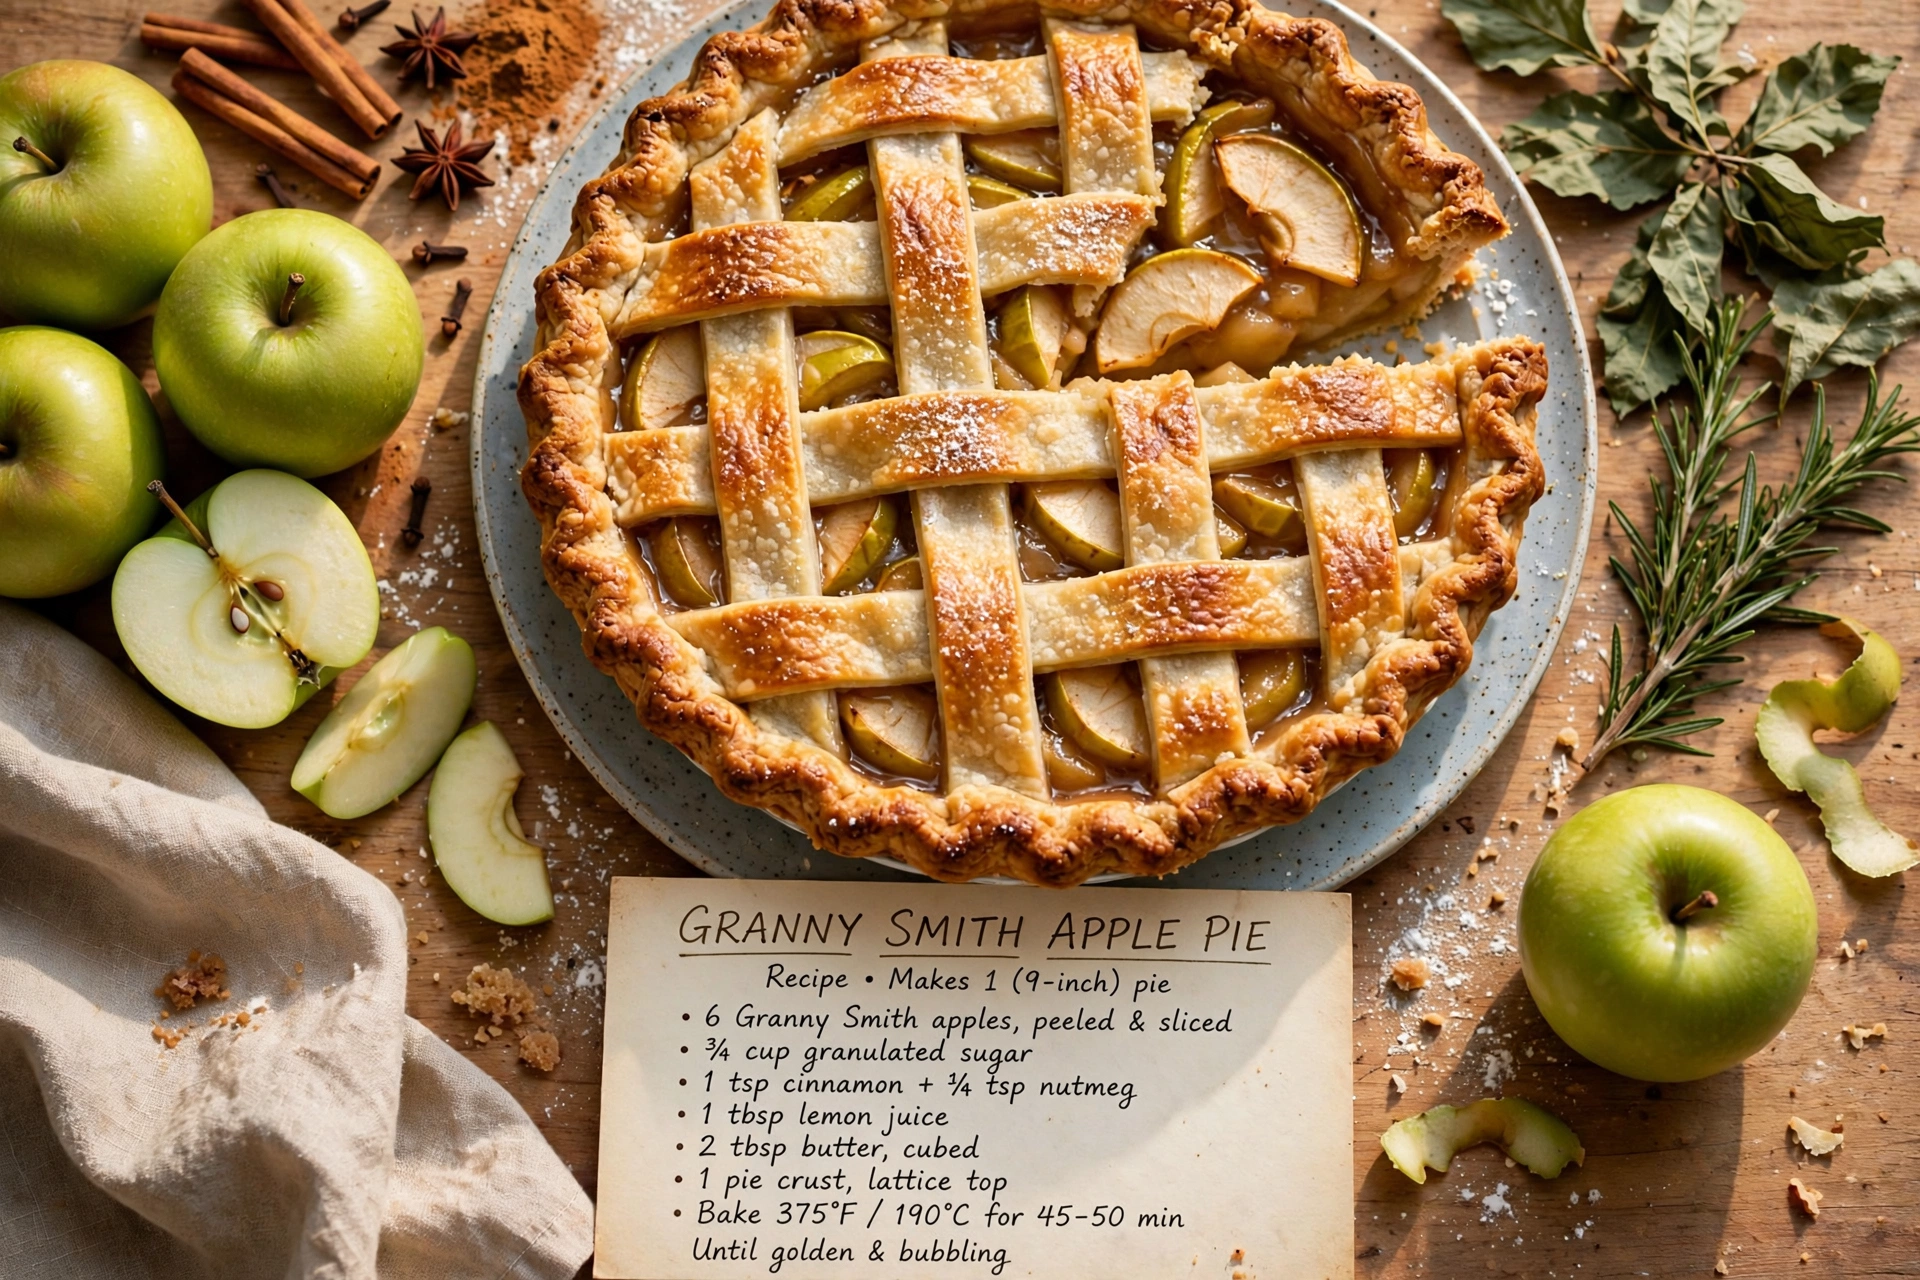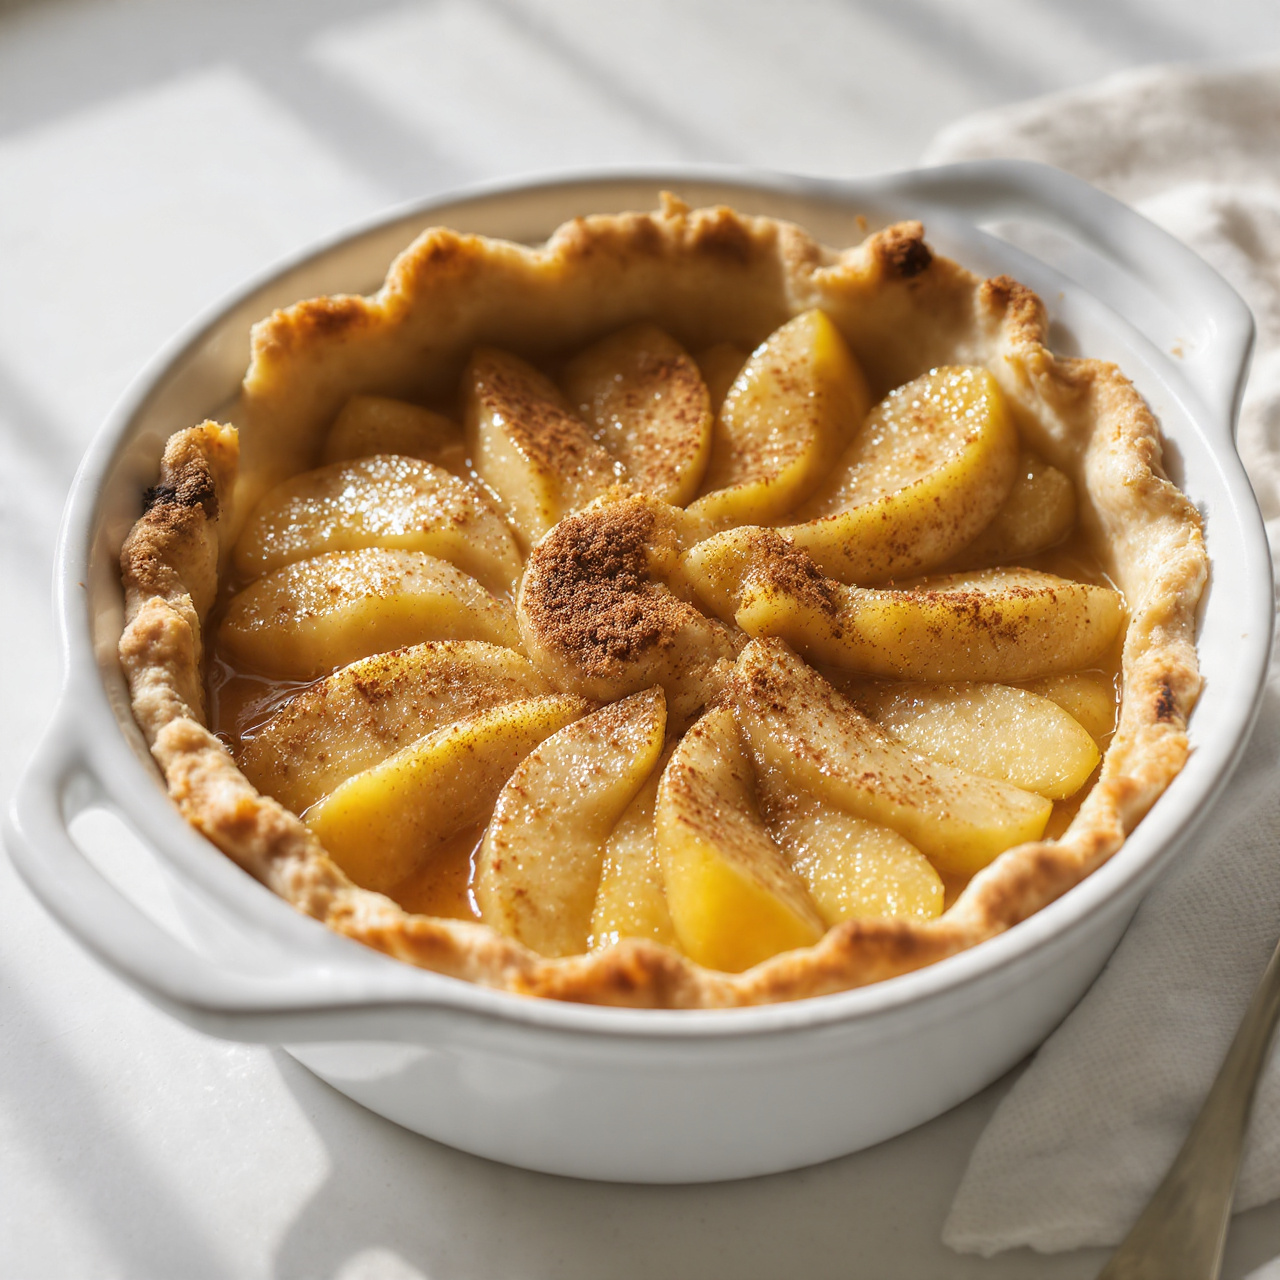
Homemade Apple Pie Filling
This homemade apple pie filling is thick, cinnamon spiced, and made from fresh apples in under 30 minutes, perfect for pies, pastries, or spooning over ice cream.

The Secret To Truly Amazing Homemade Apple Pie
There is nothing quite like the smell of cinnamon spiced apples bubbling away on the stove. This homemade apple pie filling recipe turns fresh apples into a thick, glossy, perfectly spiced filling that beats anything from a can. Whether you are prepping for a holiday pie, filling hand pies, or just want a warm topping for vanilla ice cream, this easy apple filling comes together in about 30 minutes with ingredients you probably already have on hand.
Unlike store bought versions, this fresh apple pie filling recipe lets you control the sweetness, the spice level, and the thickness completely. Once you learn how to make apple pie filling from fresh apples yourself, you may never go back to the canned stuff again.
Before we get cooking, the right tools and a few quality ingredients make a real difference here. A heavy bottomed saucepan prevents scorching, a sharp peeler saves you serious time, and using real butter and freshly grated nutmeg instead of the pre ground jar gives this filling a noticeably richer flavor.
Choosing The Best Apples For Pie Filling
Not all apples behave the same way once they hit the heat. For the best cooked apple pie filling, you want a variety that holds its shape without turning to mush.
- Granny Smith: Firm, tart, and holds its shape beautifully. My top pick for structure.
- Honeycrisp: Sweet, juicy, and still holds up well during cooking.
- A mix of both: My personal favorite for the best balance of sweet and tart.
Chef's Tip: Slice your apples to a consistent thickness, about a quarter inch, so they all cook at the same rate. Uneven slices mean some pieces turn mushy while others stay too firm.
Why Homemade Beats Canned Every Time
When you make this thick apple pie filling yourself, you are not just saving money, you are controlling every variable. Canned fillings are often overloaded with sugar and thickeners that leave a gluey, artificial texture. This homemade apple filling uses just enough cornstarch to create a glossy, spoonable sauce that clings to every apple slice without turning gummy.
It is also incredibly versatile. Use it in a classic double crust pie, spoon it over pancakes, swirl it into oatmeal, or layer it into a trifle. Once you have a jar of this in the fridge, you will find excuses to use it.
Ready to make it? Here is the full step by step recipe:
Homemade Apple Pie Filling
This homemade apple pie filling is thick, cinnamon spiced, and made from fresh apples in under 30 minutes, perfect for pies, pastries, or spooning over ice cream.
Ingredients
- 8 apples, peeled, cored, and sliced 1/4 inch thick, Granny Smith or Honeycrisp work best
- 3/4 cup granulated sugar
- 1/2 cup light brown sugar, packed
- 3 tbsp cornstarch, for thickening
- 1 1/2 tsp ground cinnamon
- 1/4 tsp ground nutmeg, freshly grated if possible
- 1/4 tsp salt, fine sea salt
- 1 cup water, divided
- 1 tbsp lemon juice, freshly squeezed
- 1 tbsp unsalted butter, cut into small pieces
Instruction
Peel, core, and slice the apples into even 1/4 inch thick pieces so they cook uniformly.
In a large saucepan or Dutch oven, combine the sliced apples, granulated sugar, brown sugar, cinnamon, nutmeg, and salt. Stir to coat the apples evenly.
Add 3/4 cup of the water and the lemon juice to the pot. Set over medium heat and bring to a gentle simmer, stirring occasionally.
In a small bowl, whisk the cornstarch with the remaining 1/4 cup water until smooth and no lumps remain.
Once the apples have softened slightly and released their juices, about 6 to 8 minutes, stir in the cornstarch slurry.
Continue cooking, stirring frequently, until the mixture thickens into a glossy, thick sauce that coats the back of a spoon, about 3 to 5 minutes more.
Remove the pot from the heat and stir in the butter until melted and fully incorporated.
Let the filling cool for at least 20 minutes before using in a pie, or transfer to jars for storage.
Equipment
- Large saucepan or Dutch oven
- Vegetable peeler
- Sharp knife
- Cutting board
- Mixing bowl for cornstarch slurry
- Wooden spoon or heatproof spatula
Notes
Serving, Storing, and Make Ahead Tips
This filling is designed to be flexible. Here is how to get the most out of it.
- For pies: Cool the filling completely before adding it to an unbaked crust. A hot filling can make the bottom crust soggy and hard to work with.
- Storing: Keep leftovers in an airtight container in the fridge for up to 5 days.
- Freezing: This filling freezes wonderfully. Portion it into freezer bags or jars, leaving room for expansion, and freeze for up to 3 months.
Chef's Tip: If your filling seems too thin after cooling, it likely was not simmered quite long enough after adding the cornstarch slurry. A quick reheat on the stove with an extra teaspoon of cornstarch slurry will fix it right up.
Ways To Use Your Apple Filling
Beyond the classic pie, this filling shines in plenty of other desserts and breakfasts. Try it spooned warm over Dutch baby pancakes, layered between graham crackers for a quick icebox treat, or baked into hand pies for an easy grab and go dessert. However you use it, this easy apple filling recipe proves that a little homemade effort goes a very long way.